This post may contain affiliate links, please see our privacy policy for details
Prep 5 minutesmins
Cook 5 minutesmins
Total 10 minutesmins
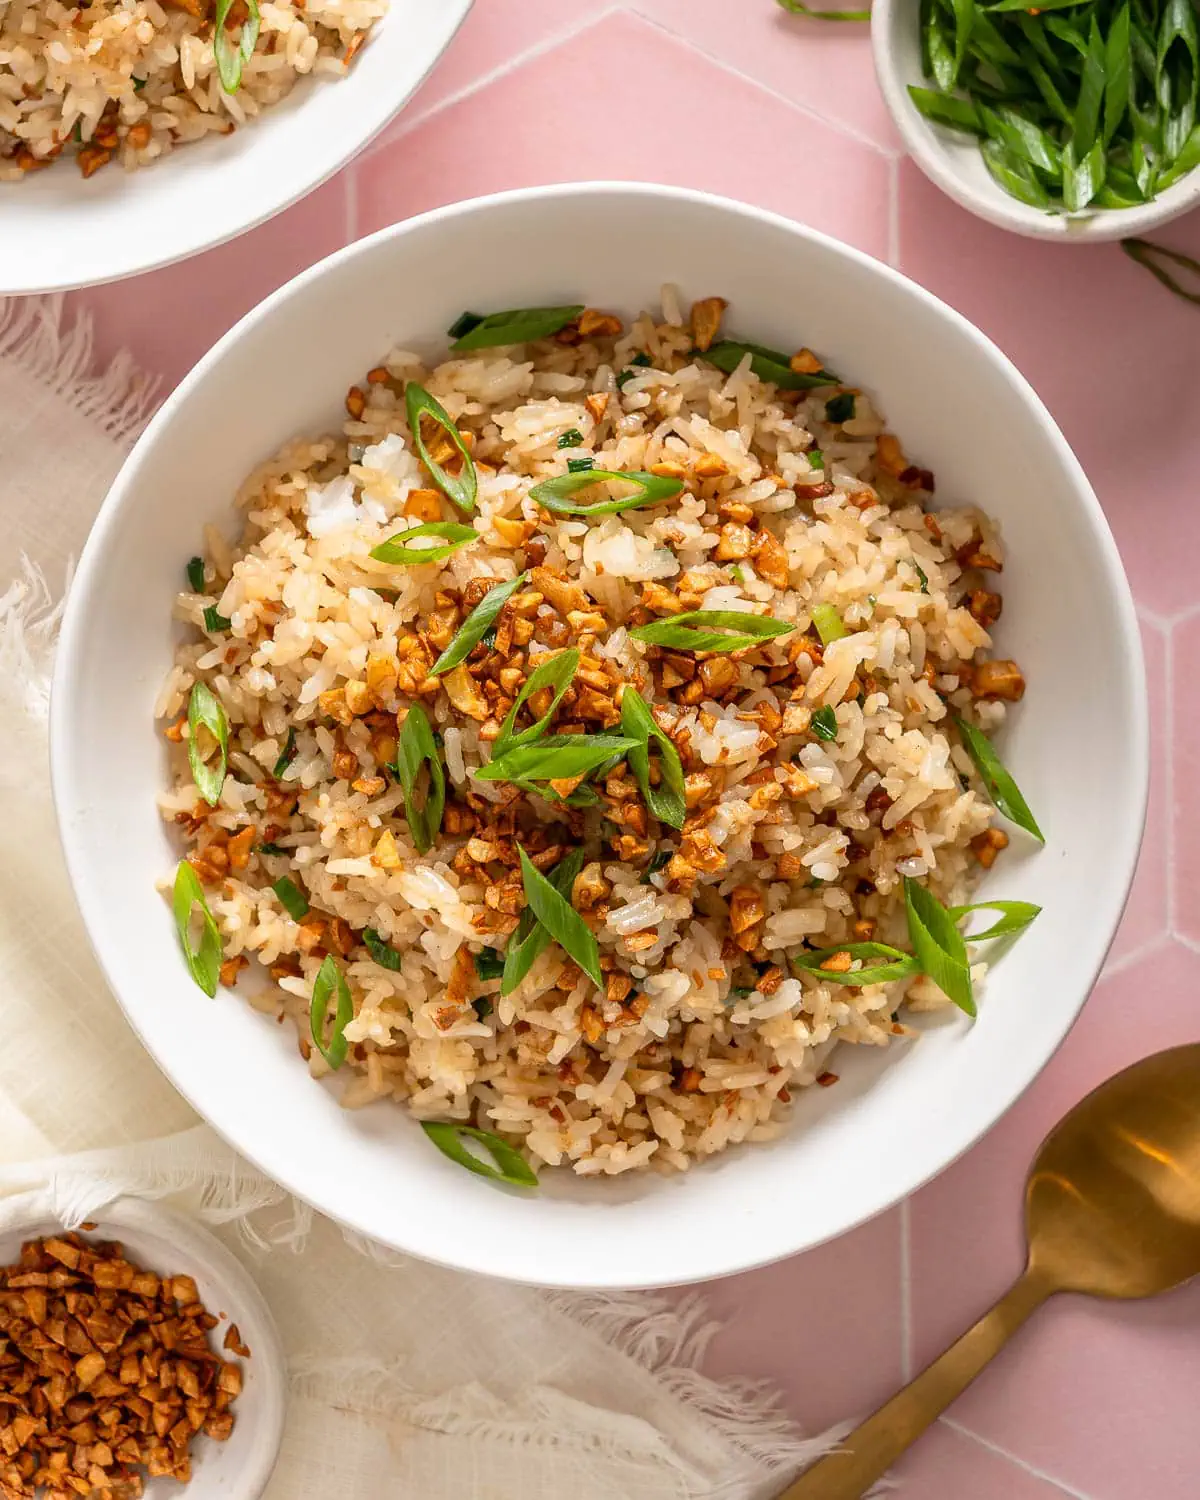
Garlic fried rice, or sinangag, is an incredibly easy and delicious Filipino fried rice made with crispy fried garlic, salt, pepper, soy sauce, and green onions. This garlicky fried rice is perfect for breakfast or as a side dish for any meal.
Garlic fried rice is my favorite quick rice recipe because it is savory, delicious, and takes only 10 minutes to whip up. The best part about this Filipino garlic fried rice is that it is incredibly versatile and can be served for breakfast, lunch, or dinner any day of the week.
Sinangag, or garlic fried rice or garlic rice, is a dish originating from the Philippines. The garlic rice uses cold day-old leftover white rice and is tossed with fried garlic, salt, pepper, soy sauce, and green onions. This Filipino garlic fried rice is typically served for breakfast or as a side dish accompanying a protein. Sinangag is a beloved dish in the Philippines and is also loved in other areas such as Indonesia, Singapore, and Hawaii.
Ingredients
You can easily find all of these ingredients for this Filipino garlic fried rice recipe at your local grocery store. Full measurements and links to all the ingredients I used are listed in the recipe card below.
Long-grain white rice: Be sure to use rice that has been cooked in a rice cooker or on the stove for at least 24 hours and stored in the refrigerator. The refrigerator dries out the rice, allowing it to absorb the sauce without becoming too clumpy and mushy. You will use day-old rice in any fried rice recipe, such as beef fried rice or shrimp fried rice.
Vegetable oil: to fry and crisp up the garlic.
Garlic: use fresh garlic for the best, garlicky fried rice flavor.
Green onions: green onions add an aromatic element.
Salt and White pepper: seasons the rice.
Soy sauce: adds a salty umami flavor to the rice.
Substitutions and Additions
Substitutions
Butter: an alternative to oil.
Rice alternatives: basmati, brown, short grain, medium grain etc.
Black pepper: alternative to white pepper
Soy Sauce alternatives. Tamari or Liquid Aminos
Adobo sauce: use any leftover adobo sauce from your chicken adobo recipe for a deeper flavor.
Additions
Eggs: for added flavor and protein.
Spam: elevate your spam and eggs with this garlic fried rice.
Protein: chicken, beef, pork, tofu, or shrimp.
Sugar: for a hint of added sweetness.
Stir-fried vegetables: carrots, peas, corn, broccoli, bell peppers, mushrooms, etc.
How to Make Garlic Fried Rice
Here are the steps for making this Filipino garlic fried rice (sinangag) recipe.
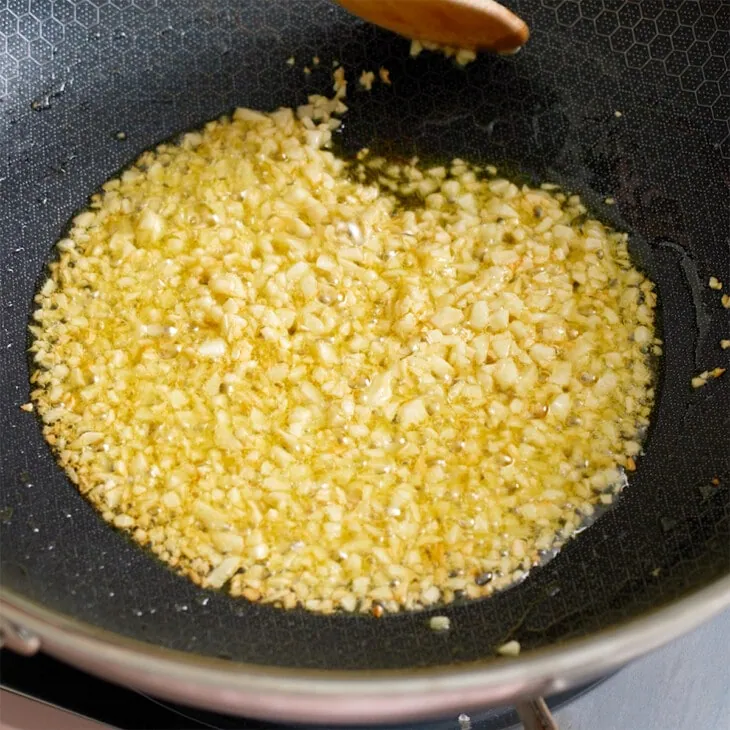
Heat the olive oil over in a wok or large pan with medium to medium-low heat. Add the garlic and cook for 1-2 minutes, stirring frequently. Then remove the garlic from the pan, leaving the oil behind.
Next add in the green onions and cook for 30 seconds.
Turn the heat up to medium-high, add the rice, and toss to combine.
Toss to combine the salt, white pepper, and soy sauce. Then add 2/3 of the garlic back in and toss.
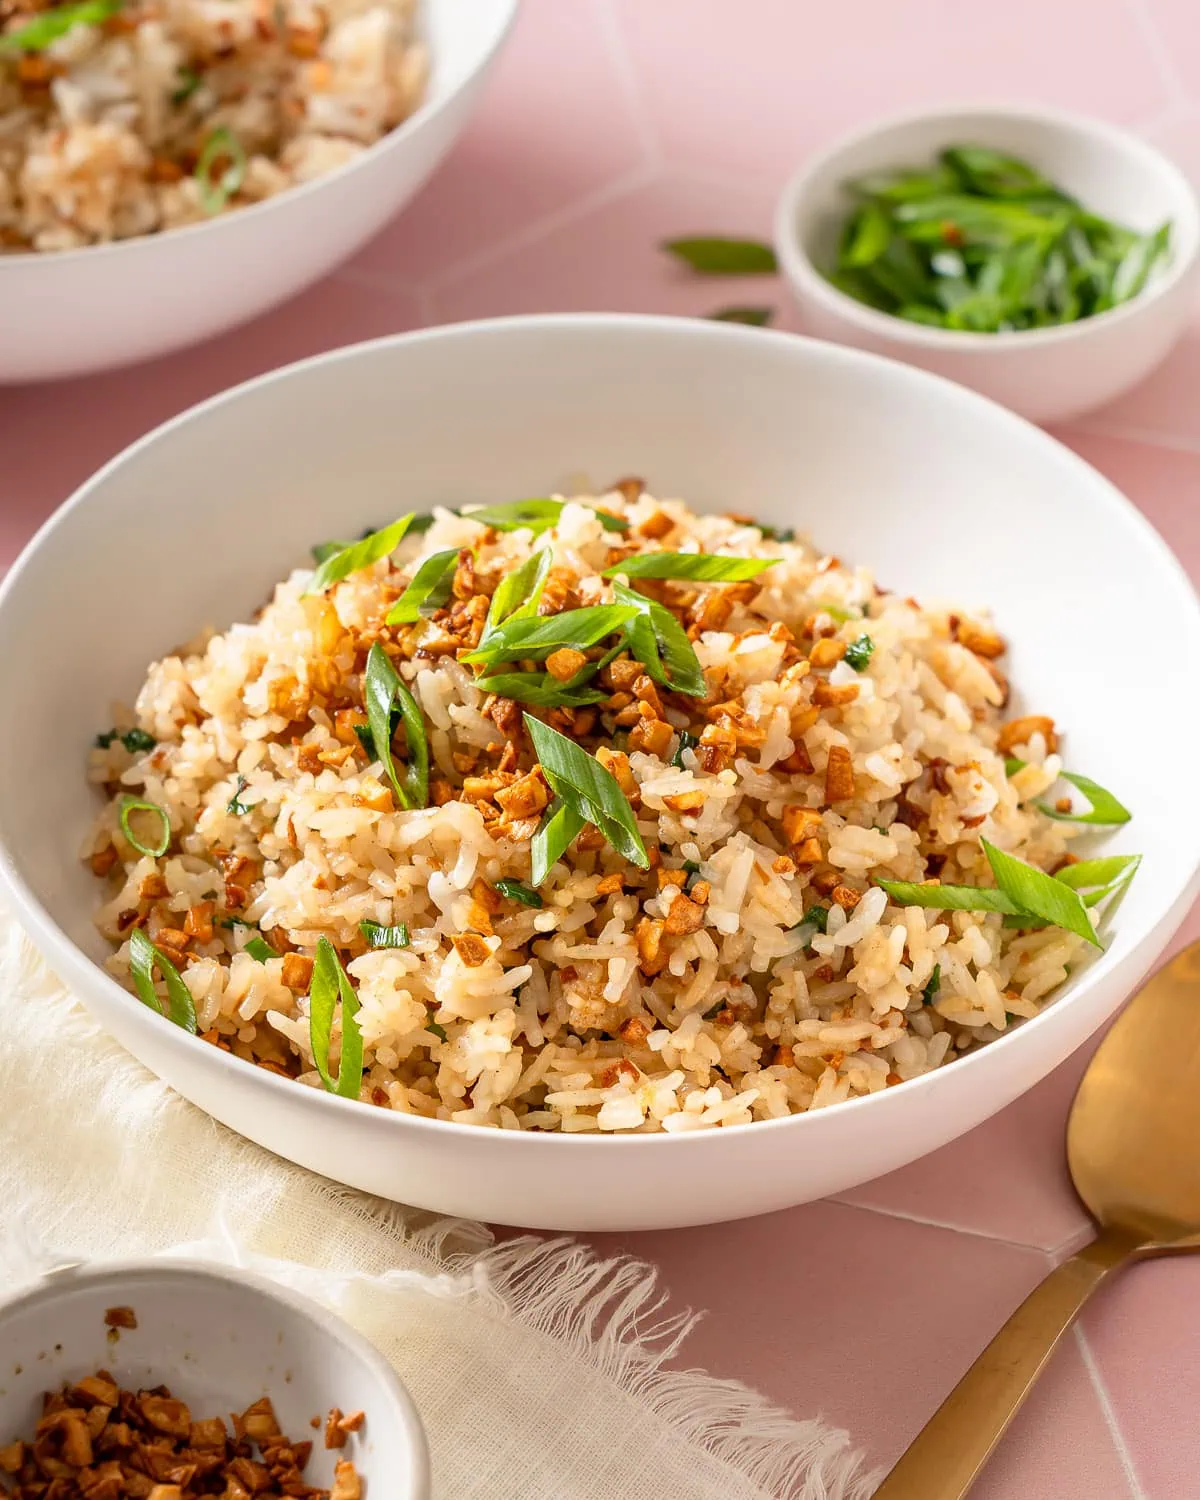
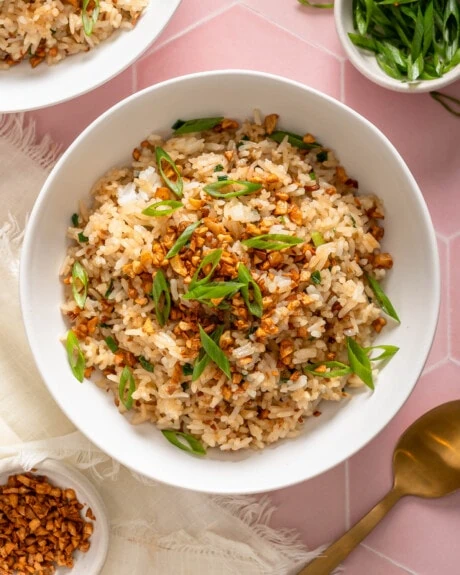
Garnish with the remaining fried garlic and fresh green onions, and enjoy!
Expert Tips
Use day-old rice. Freshly cooked rice may be too wet and sticky. Day-old rice allows the grains to dry out slightly, resulting in an ideal texture for stir-frying.
Prep the ingredients before cooking. Prepare the garlic, and have all the seasoning ingredients measured before you start cooking for a seamless cook.
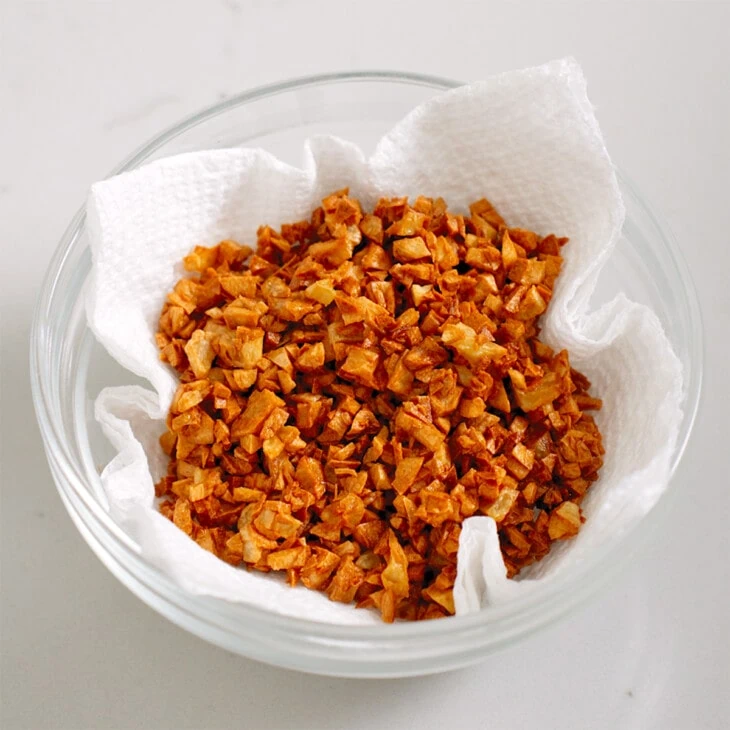
Remove the garlic when just golden brown. Carefully watch the garlic as you fry it stirring frequently. Remove the garlic when it turns just golden brown. The garlic will continue to brown and slightly darken after you remove it from the pan.
Keep the oil after you fry the garlic. Strain the garlic out of the oil and reuse the oil. The garlic-infused oil is key to adding another layer of garlicky flavor to the rice.
Storage Instructions
You can store this garlicky fried rice once it has cooled completely in an airtight container in the refrigerator for up to 5 days.
Reheat: you can either microwave the sinangag covered until warm or toss the rice in a skillet on the stove over medium heat until warm.
Freeze: this garlic fried rice recipe also freezes well. You can store the fried rice in a freezer-safe container in the freezer for up to 3 months. Thaw in the refrigerator overnight before serving.
Pairing Suggestions
Serve this garlic fried rice on its own or pair it with the following suggestions.
How do you make fried rice and not burn the garlic?
When frying the garlic, use medium to medium-low heat and constantly stir the garlic to prevent it from burning. Watch the garlic carefully and remove it from the heat when it just turns golden brown. The garlic will continue to cook and brown as it cools and crisps up.
Can I use freshly cooked rice for garlic fried rice?
While it is recommended to use day-old rice, yes, you can use freshly cooked rice that has been cooled and refrigerated for at least 2 hours. Spread the freshly cooked rice onto a baking sheet and place it in the refrigerator to cool quickly.
Garlic fried rice is an incredibly easy and delicious Filipino fried rice made with crispy fried garlic, salt, pepper, soy sauce, and green onions. This garlicky fried rice is perfect for breakfast or as a side dish for any meal.
Fry the garlic. In a wok or large pan, heat the olive oil over medium to medium-low heat. Add the garlic and cook for 1-2 minutes until just golden brown stirring frequently to prevent from burning. Then remove the garlic from the pan leaving the oil behind.
Add the green onions. Next add in the green onions and cook for 30 seconds until fragrant.
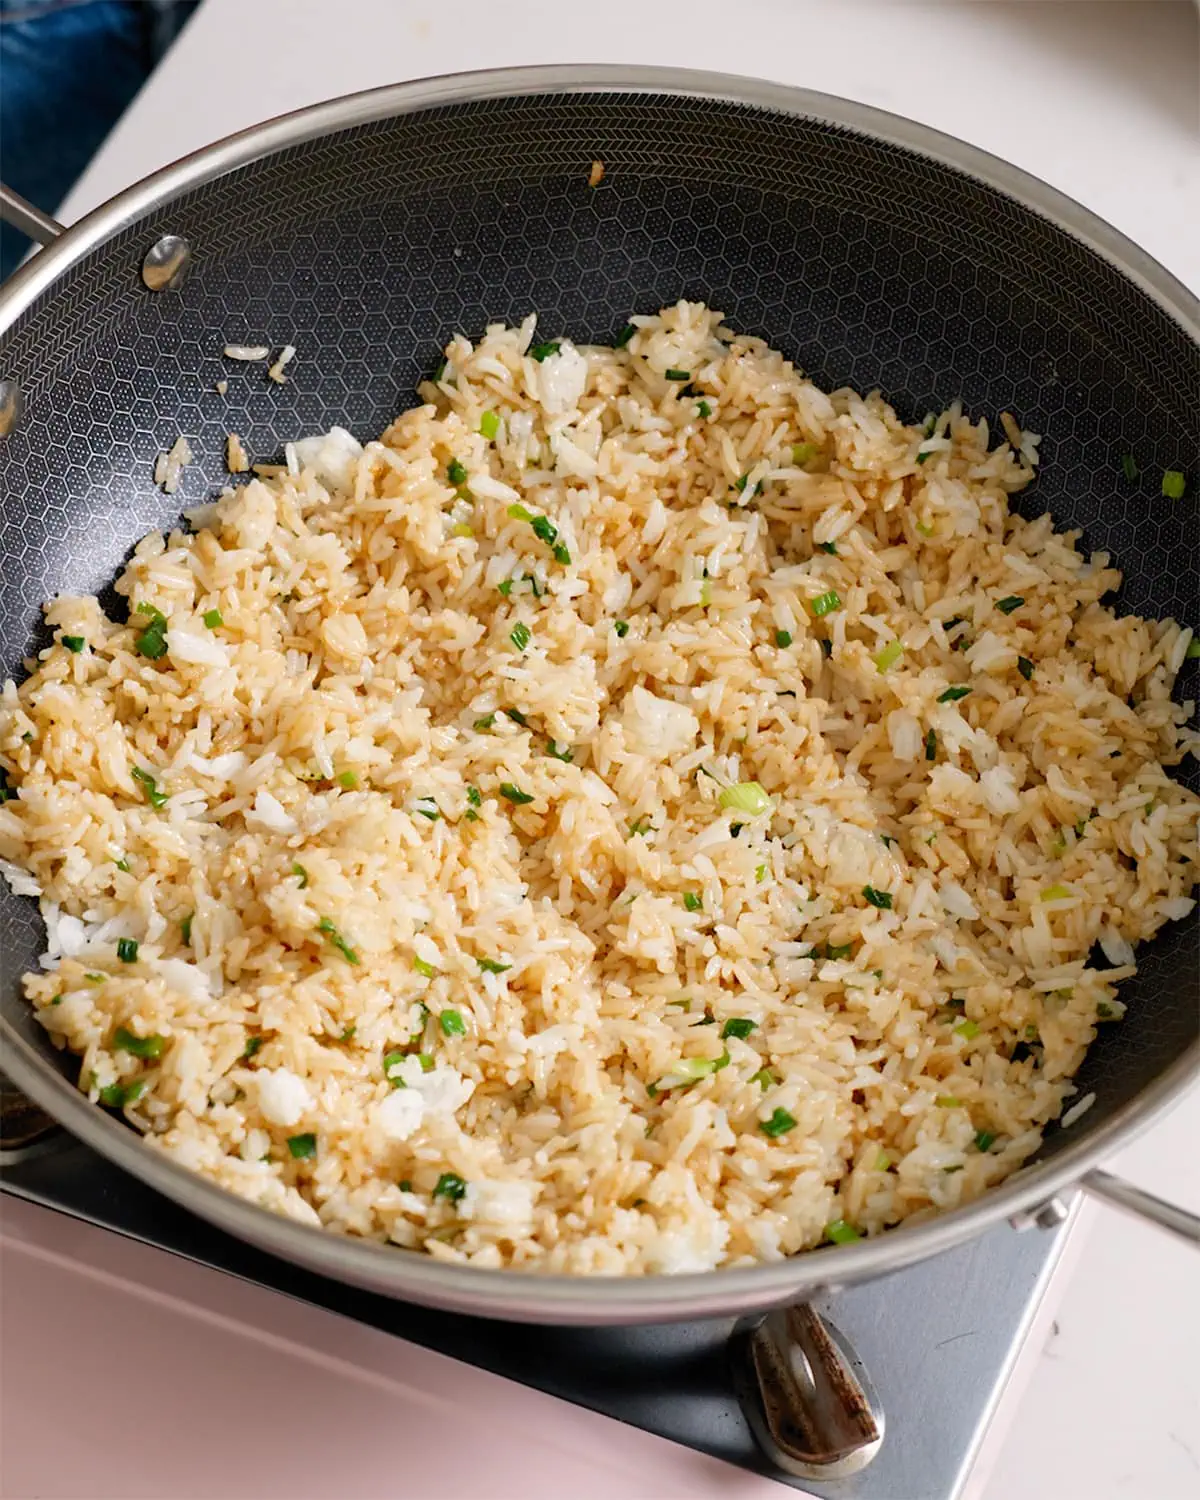
Add the rice. Turn the heat up to medium-high heat add the rice and toss to combine and break up any clumps. For crispy rice bits, spread the rice to form a thin layer on the wok to crisp up for 30 seconds.
Season the rice. Add the salt, white pepper, and soy sauce. Then toss to combine. Add 2/3 of the garlic back in and toss to combine.
Serve. Garnish with the remaining fried garlic, and fresh green onions and enjoy!


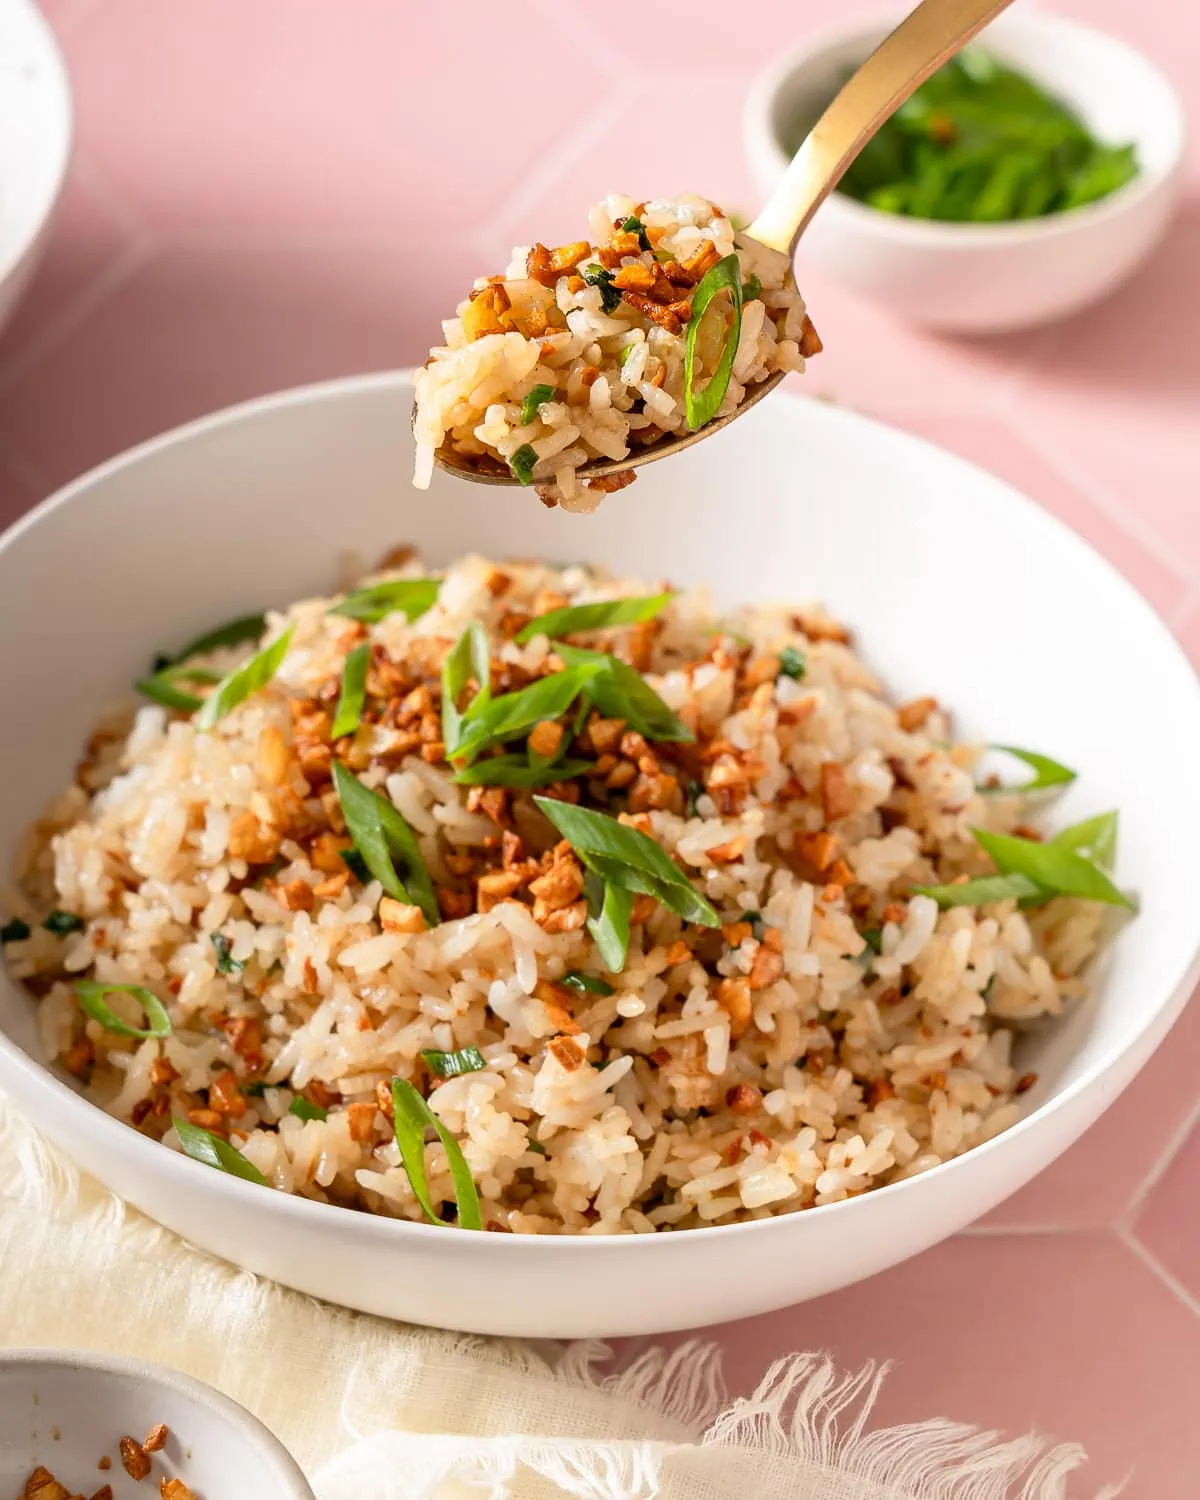


Ahhh!! Soo good! Loved how simple and quick it is! Was literally done with the whole recipe in less than 10 minutes! 🌟💫