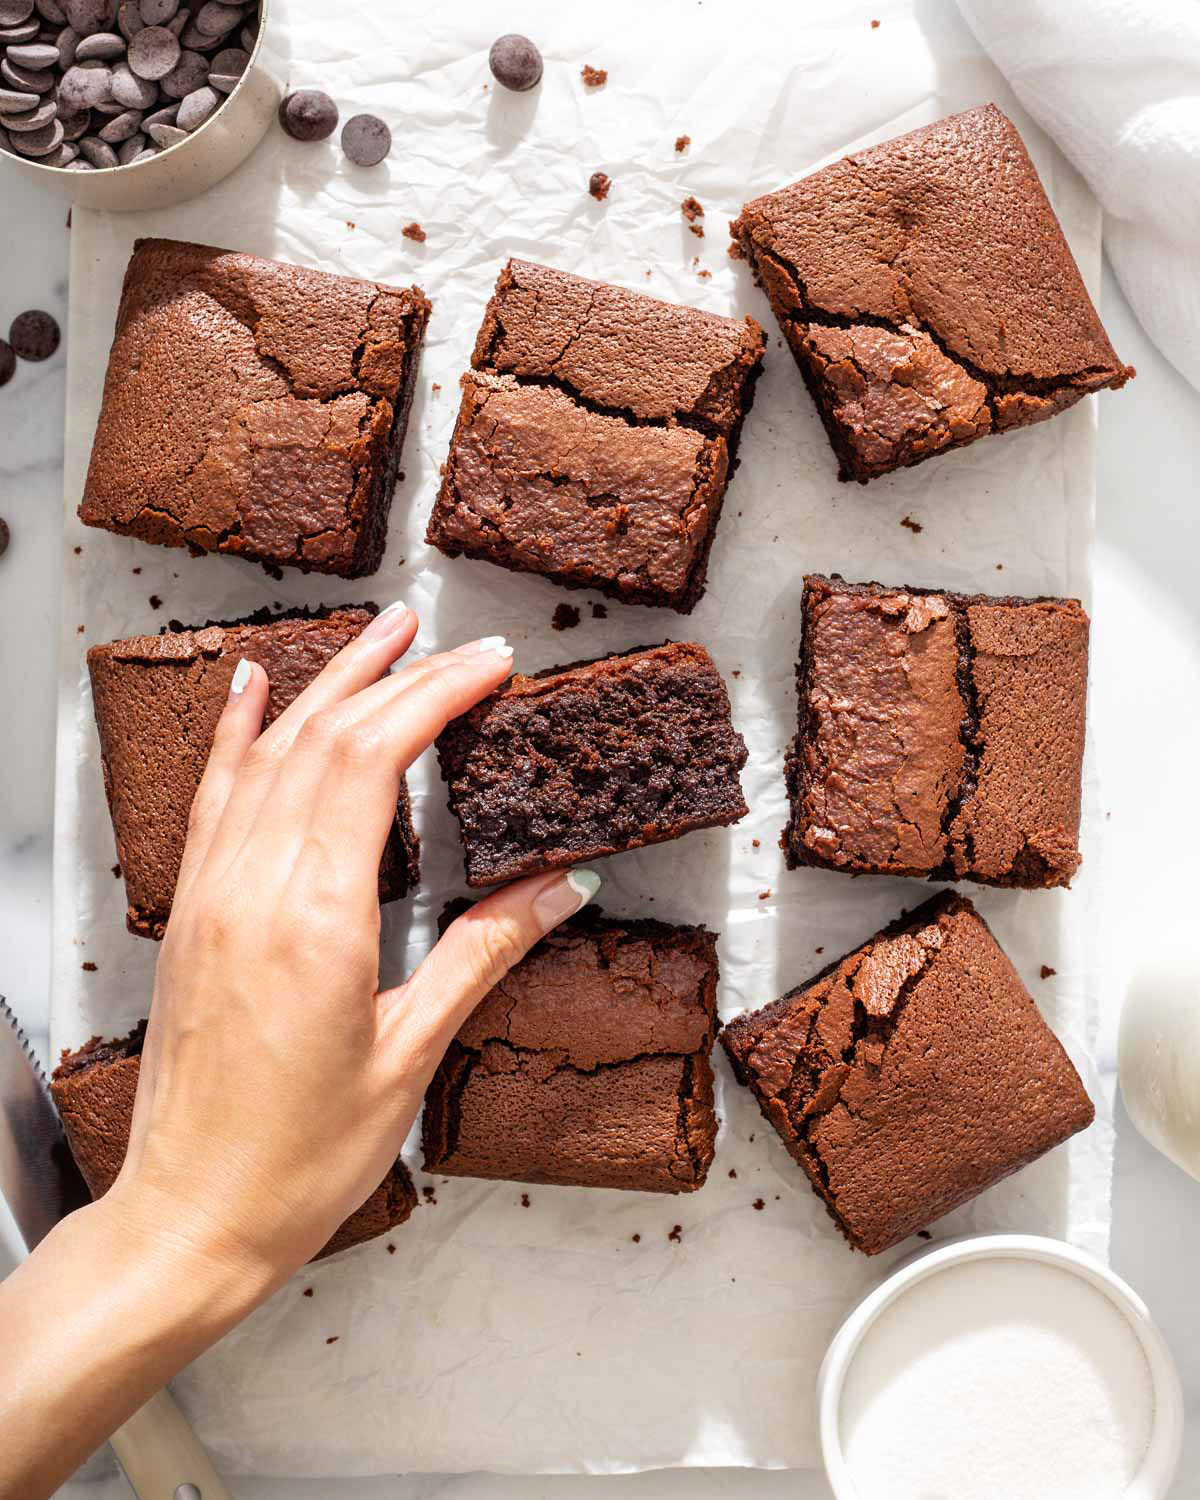
These chocolatey fudge butter mochi brownies will instantly satisfy your chocolate cravings. These mochi brownies are chocolatey, buttery, and have the perfect amount of chewiness.
Calling all chocolate lovers! These chocolatey fudge butter mochi brownies will instantly satisfy your chocolate cravings. These mochi brownies are chocolatey, and buttery, and have the perfect amount of chewiness. BONUS: They are gluten-free.
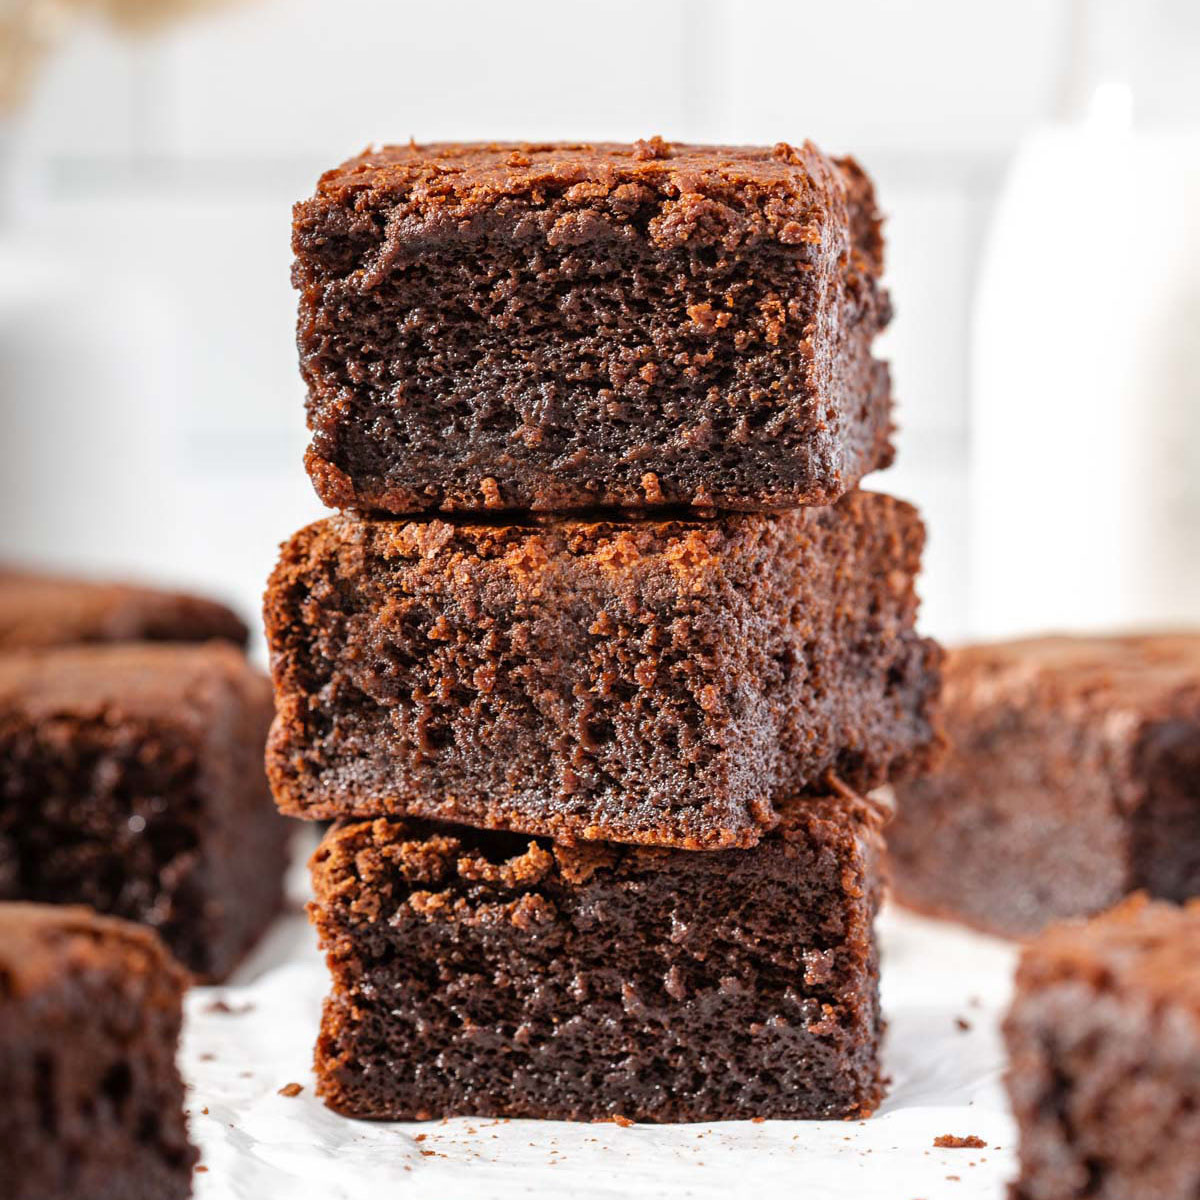
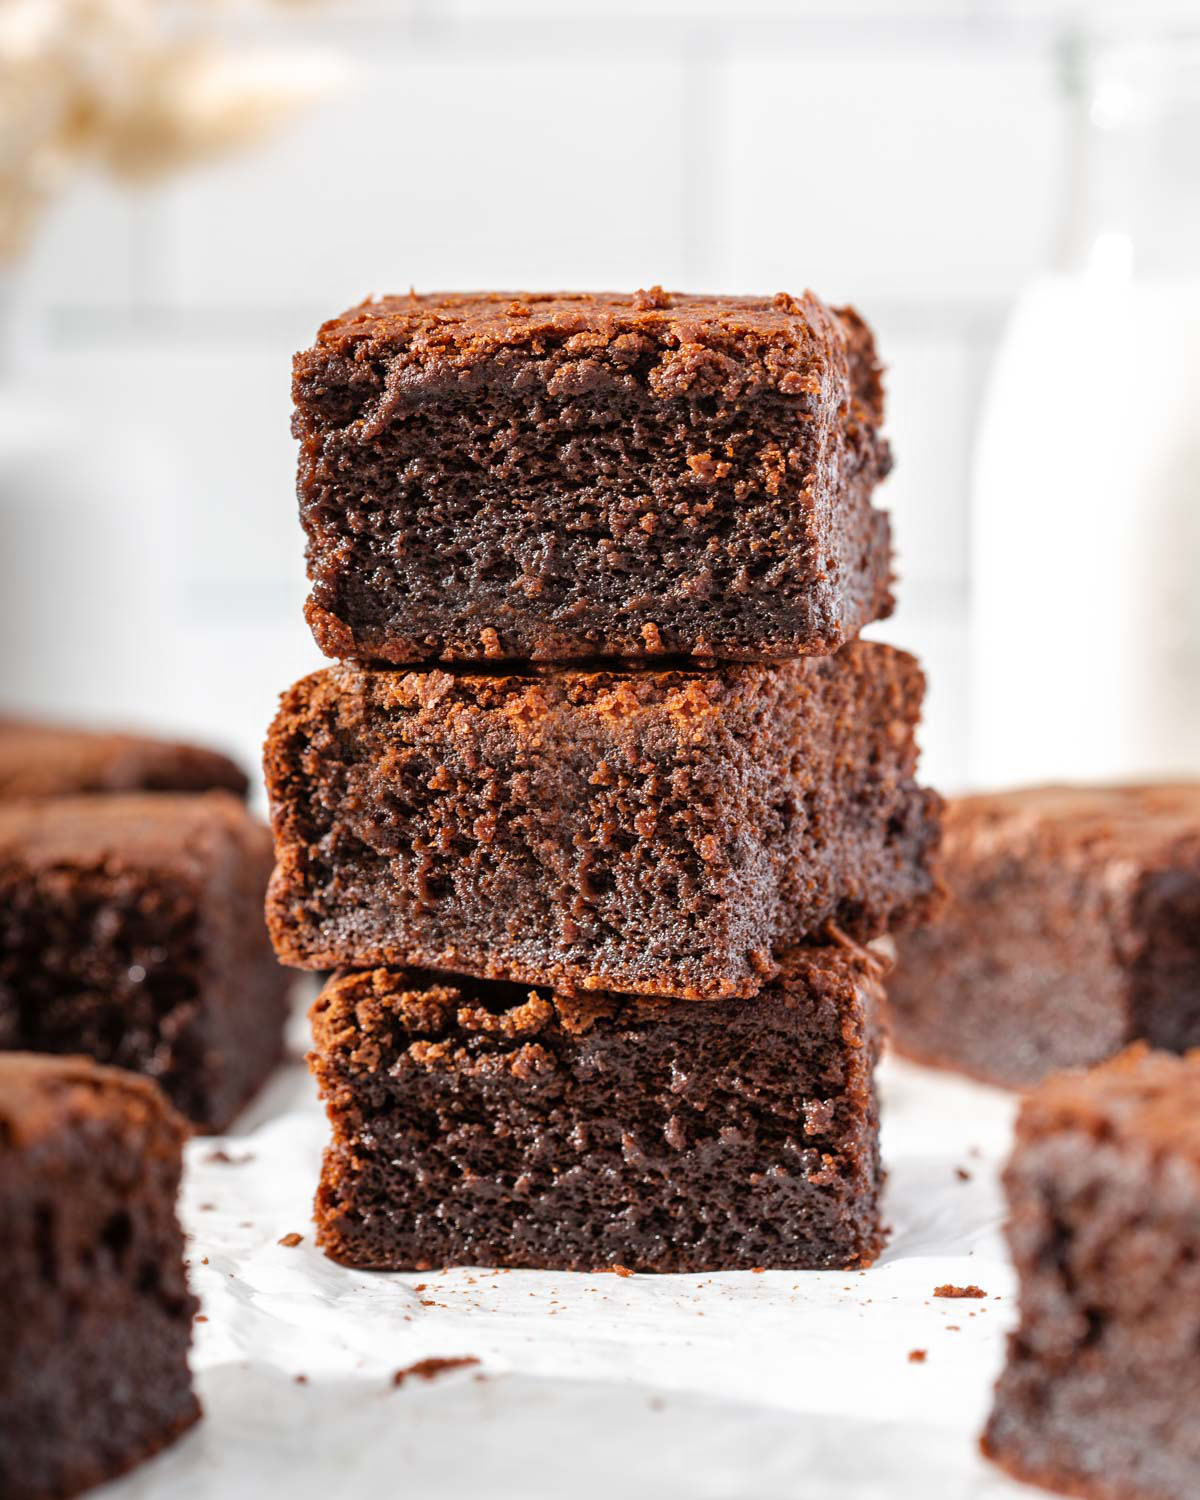
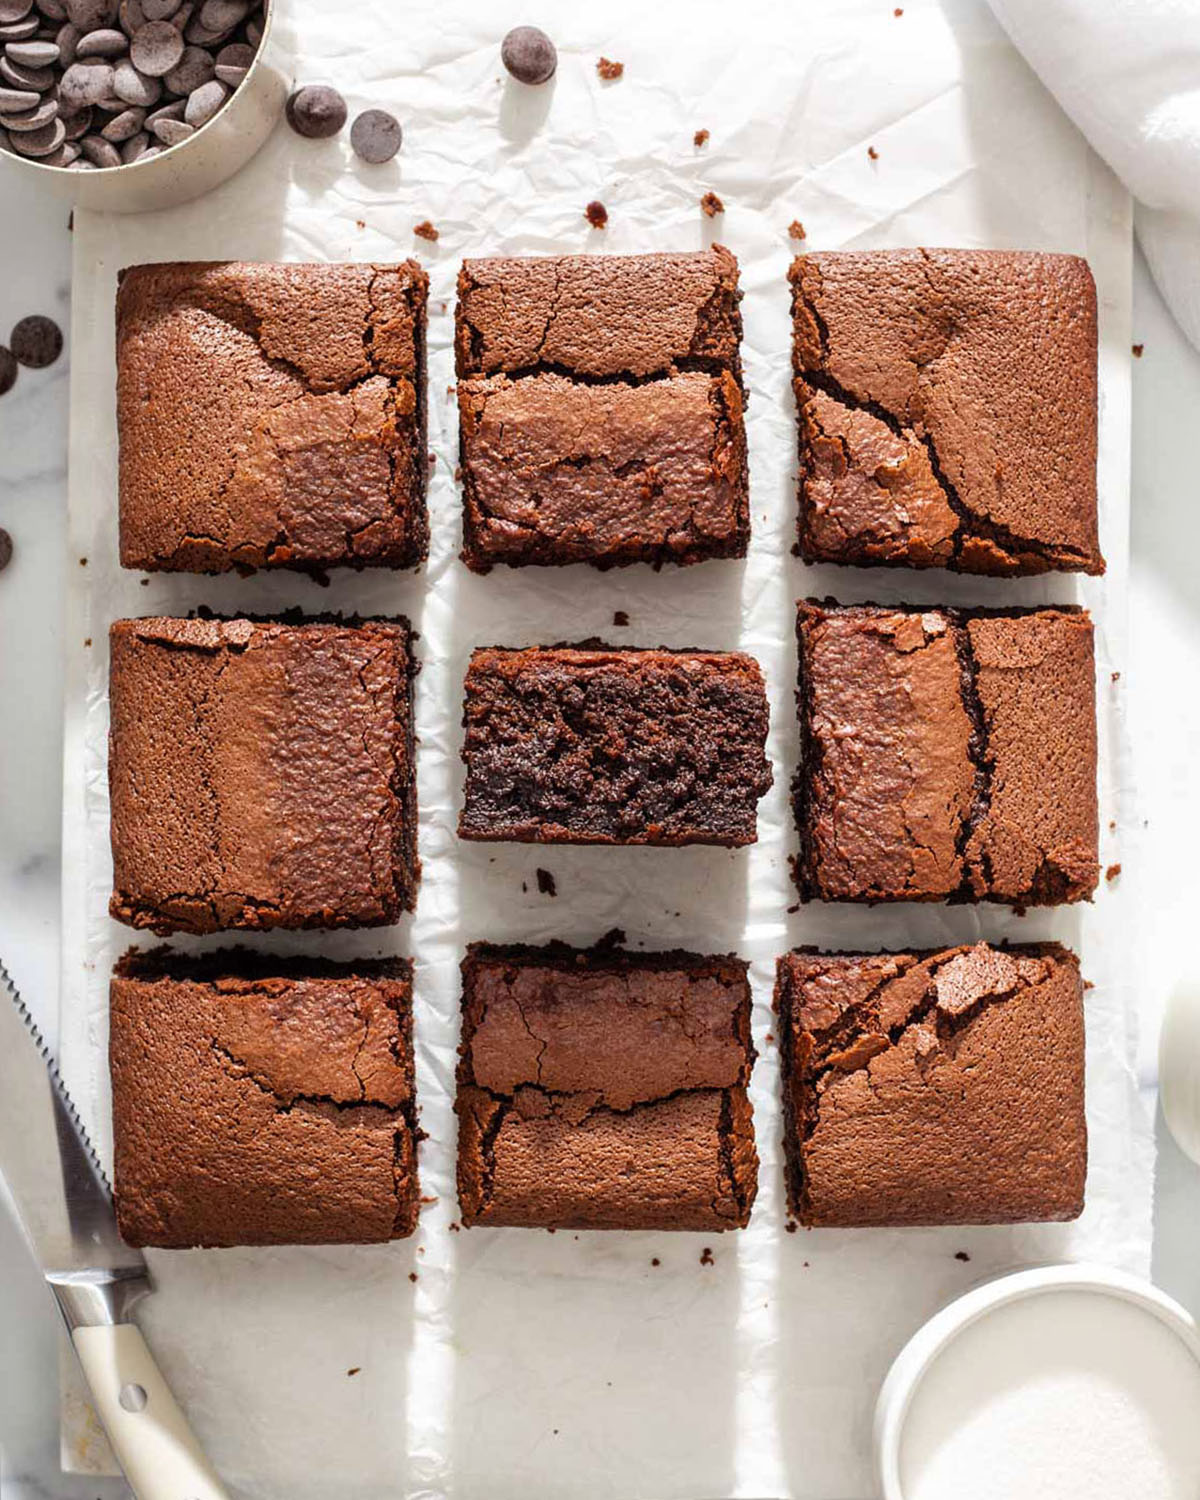
If you love mochi and brownies, you HAVE to try these butter mochi brownies. This easy recipe is a chocolate adaptation to the popular Hawaiian butter mochi dessert. They have everything you love and could ever want in a mochi brownie. That shiny crackly crust, deep rich chocolatey flavor, and that airy chewy texture. Bring these mochi brownies to your next party and a side of Chicken Katsu Curry Sliders and everyone will praise you for your culinary skills!
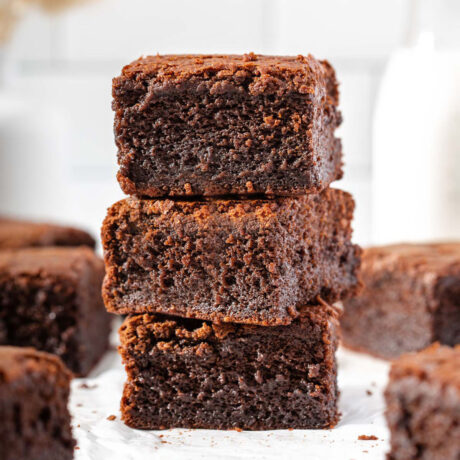
Yo girl has eaten A LOT of brownies and brownie recipes. Almost every month I crave brownies and I sample a new recipe. I am a self-proclaimed brownie connoisseur. And I must say, this butter mochi brownie is truly *chef’s kiss. They have that signature crackly top, a beautifully chewy texture, and a rich chocolatey fudgy flavor. Don’t believe me? Go try it out yourself!
Are Mochi Brownies gluten-free?
Yes! These butter mochi brownies are a little bit cake and a little bit brownie. This is a delicious gluten-free alternative because it uses glutinous sweet rice flour instead of regular all-purpose flour. The rice flour creates a soft, chewy, and spongy mochi texture that we all love.
Can you make this Butter Mochi Brownie in a different-sized pan?
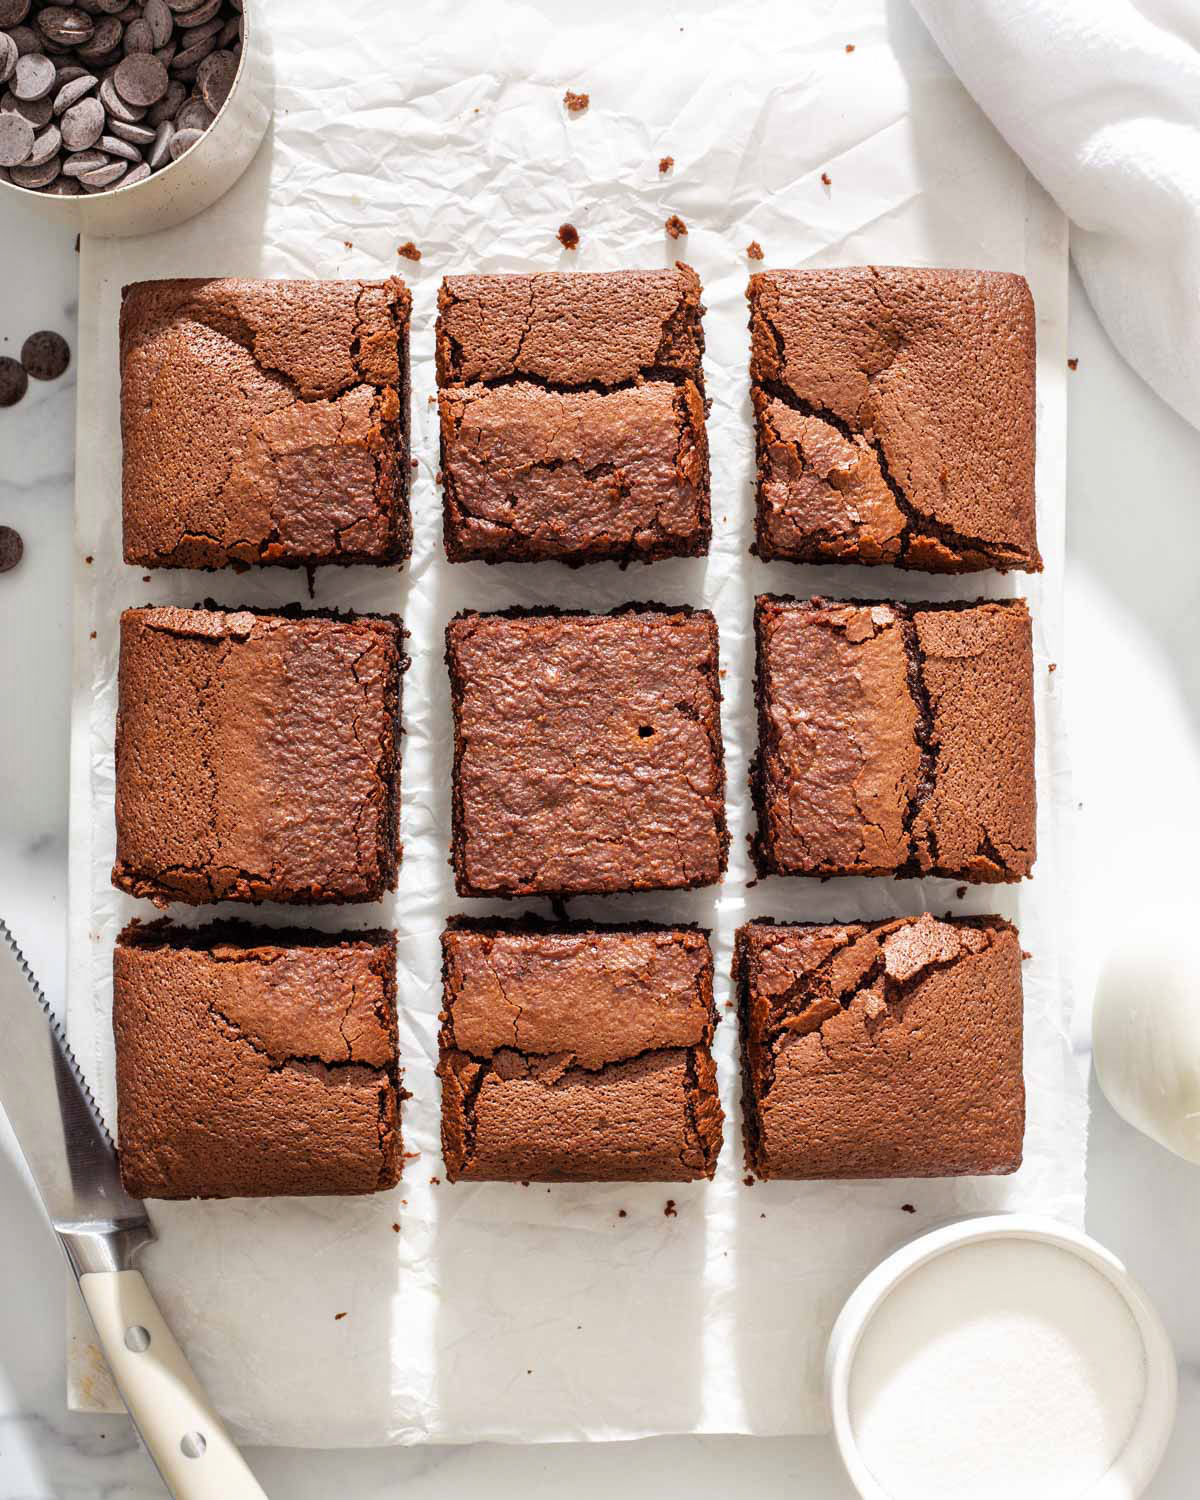
Of course! I used a standard aluminum 8×8 baking pan for the thickness of these butter mochi brownies. You can also use a 9×9 baking pan or a 9×13 baking pan. But please note that using a large pan will result in a shorter thickness! Moreover, the larger pan will also require a shorter baking time.
Ingredients
Mochiko Rice Flour: also glutinous sweet rice flour. Make sure you use SWEET rice flour and not regular rice flour. It gives the best chewy texture that you want. You can buy Mochiko online here or at your local Asian grocery market in the baking aisle.
Cocoa powder: for best results use Dutch processed cocoa powder. I love using Rodelle’s cocoa powder for all my chocolate recipes. You can buy Rodelle’s cocoa powder online here.
Baking Powder: the baking powder acts as the rising agent in this recipe. It allows the mochi to be less dense and have a bit of that airy brownie texture.
Kosher Salt: the salt balances out all the sugar and chocolate flavors
Chocolate Chips: you can pick dark, semi-sweet, or milk chocolate chips for your flavor preferences. I recommend buying high-quality melting chocolates. I love using Callebaut melting chocolates.
Unsalted butter: unsalted butter allows you to control the salt level in your bake.
Large Eggs: eggs act as a binding and rising agent for the brownies.
Granulated Sugar: granulated sugar sweetens the recipe.
Vanilla: the vanilla sweetens the mochi brownies.
Coffee: the coffee deepens the chocolate flavor without actually coming through. You won’t be able to taste the coffee at all. For best results, make sure your coffee is deep, rich, and at room temperature. I used Vietnamese coffee for that bold flavor.
Whole Milk: You can use other milk alternatives. If you are lactose-free like us, we recommend lactose-free milk for that rich milk flavor without the lactose.
Coconut Milk: Use whole-fat canned coconut milk. Do not use reduced-fat coconut milk it is not as thick and is more liquid than full fat. I used Chaokoh Coconut milk in this recipe.
How To Make Mochi Brownies
This mochi brownie recipe is pretty simple and no fancy equipment is needed. All you need are 3 mixing bowls and a whisk and you are ready to go!
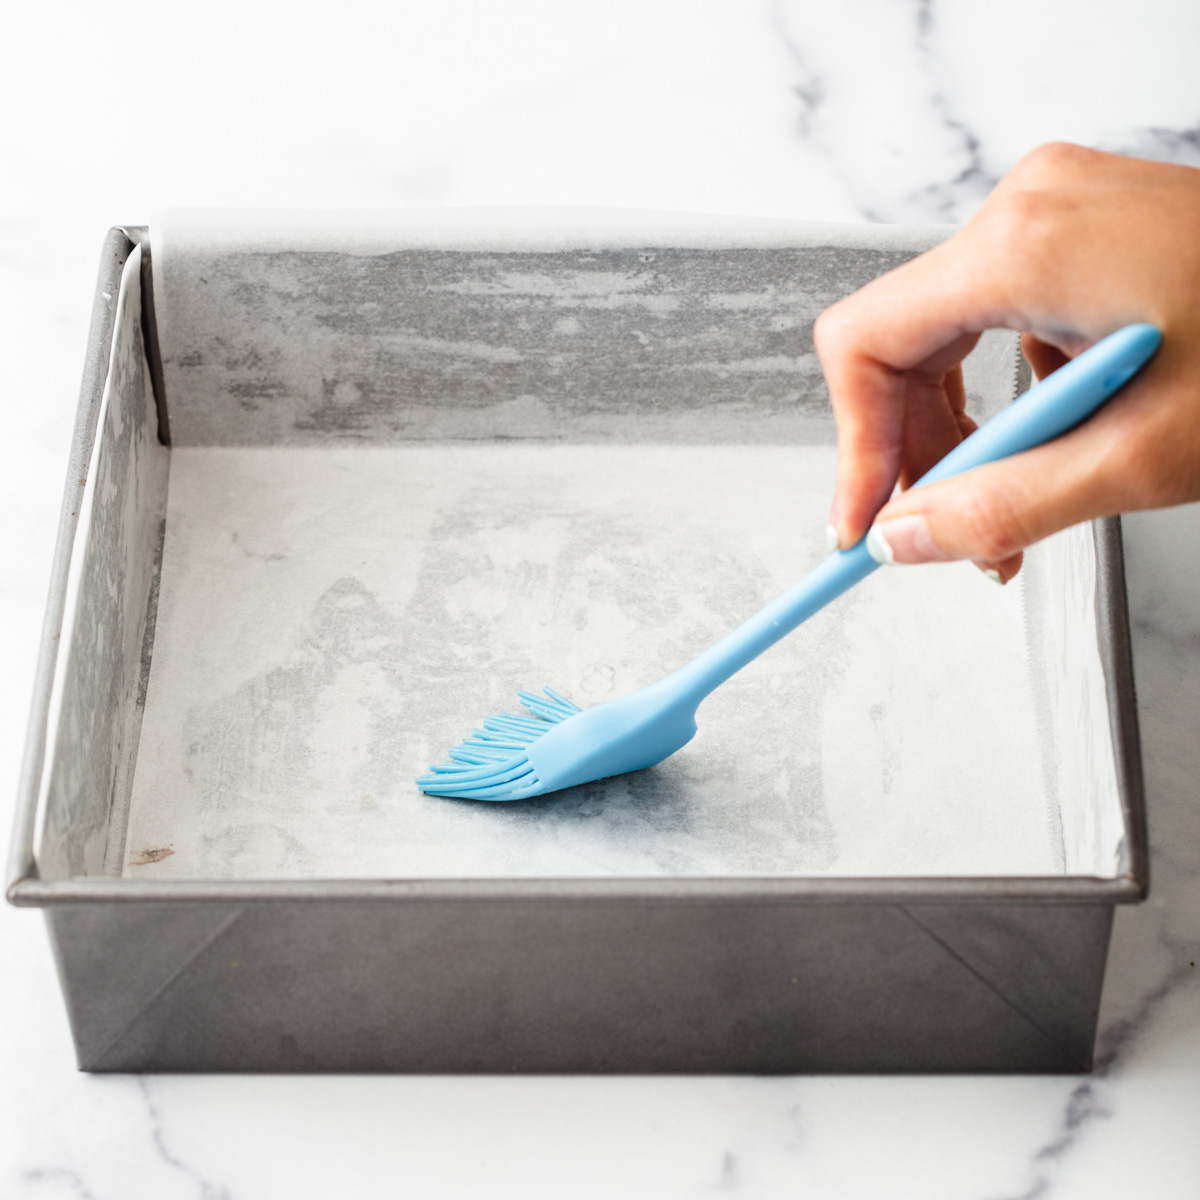
Prepare the oven and the pan. Preheat the oven to 350°F. Line a square 8×8-inch baking pan with parchment paper. Generously butter the parchment paper.
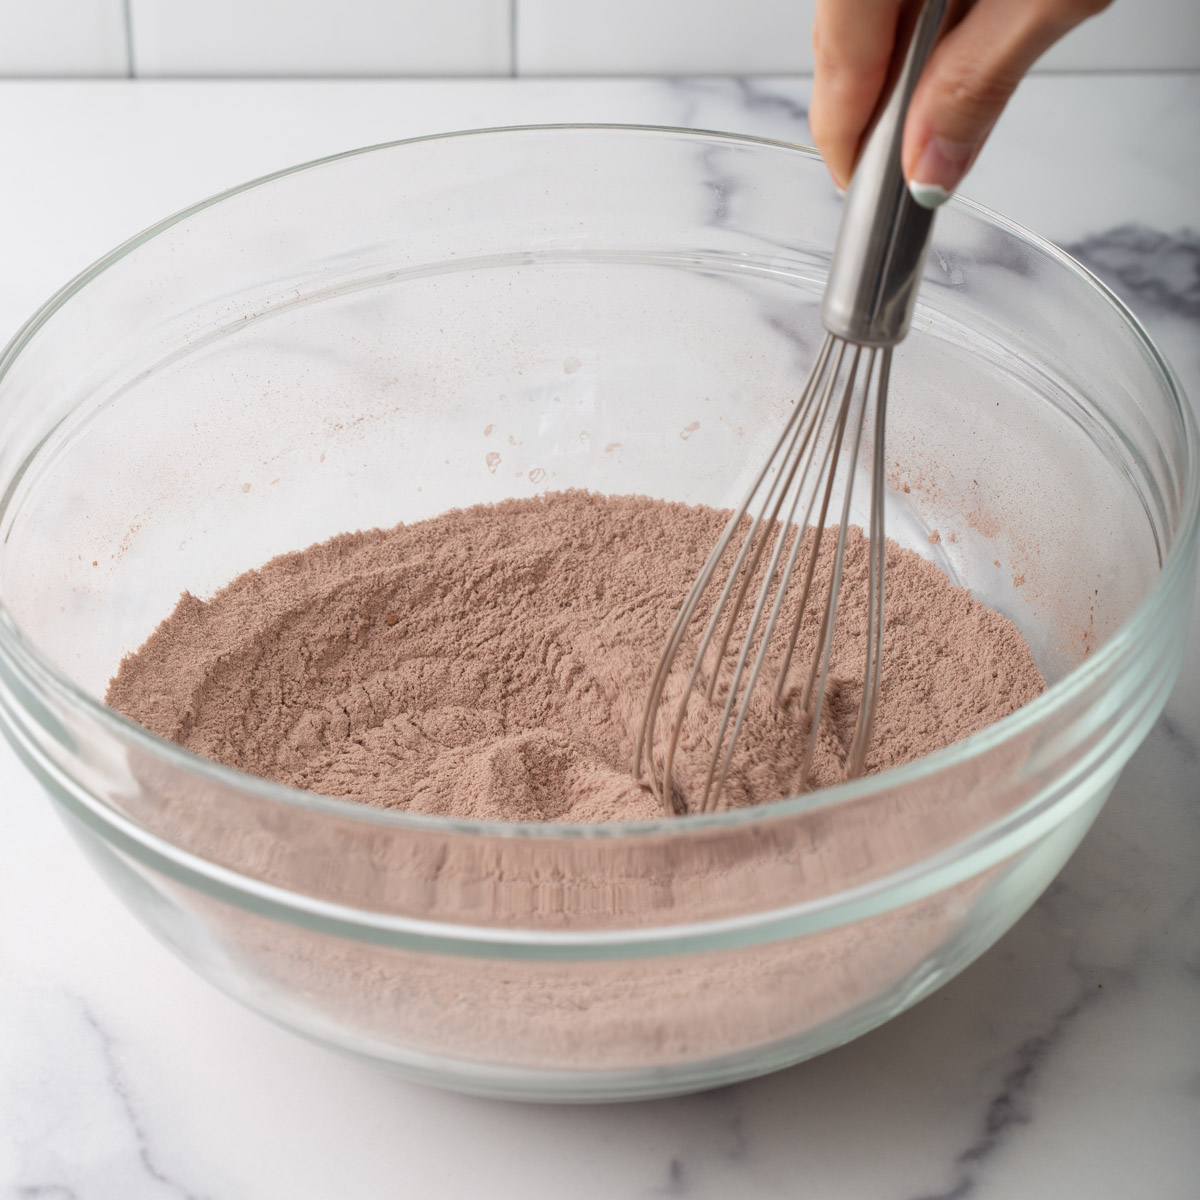
Whisk the dry ingredients. In a large mixing bowl, whisk together sweet rice flour, cocoa powder, baking powder, and kosher salt.
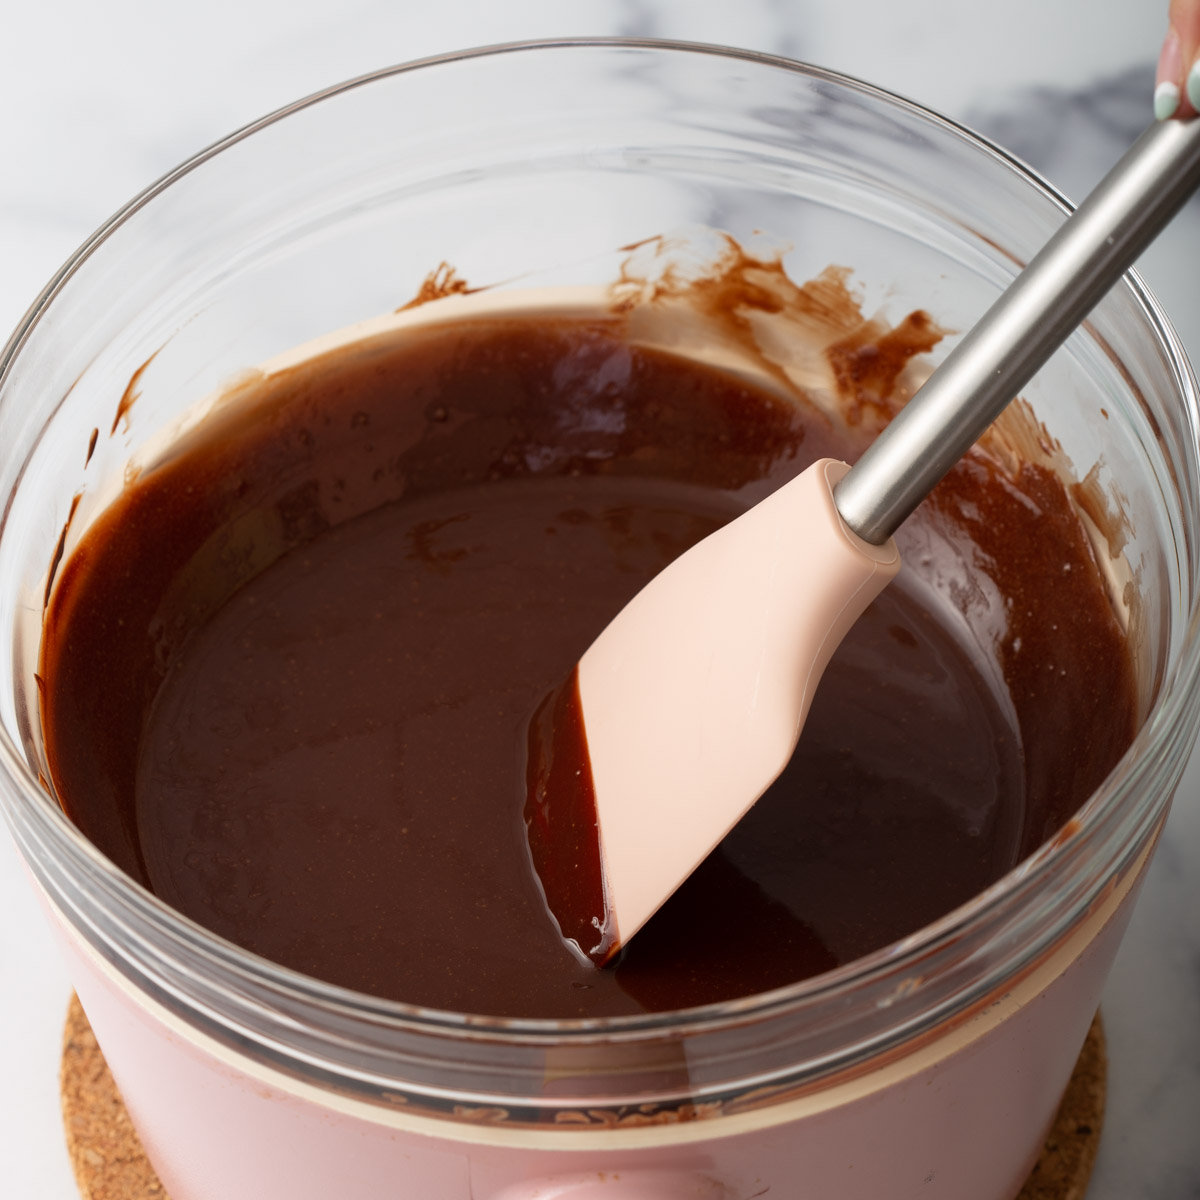
Melt the butter and chocolate chips. Using a double boiler, melt the chocolate in a heat-proof bowl over a pot of boiling water until smooth. Stir often to prevent burning. Alternatively, microwave the butter and chocolate chips in a microwave-safe bowl in 30-second increments and stir in between each increment to ensure even melting. Set aside to cool.
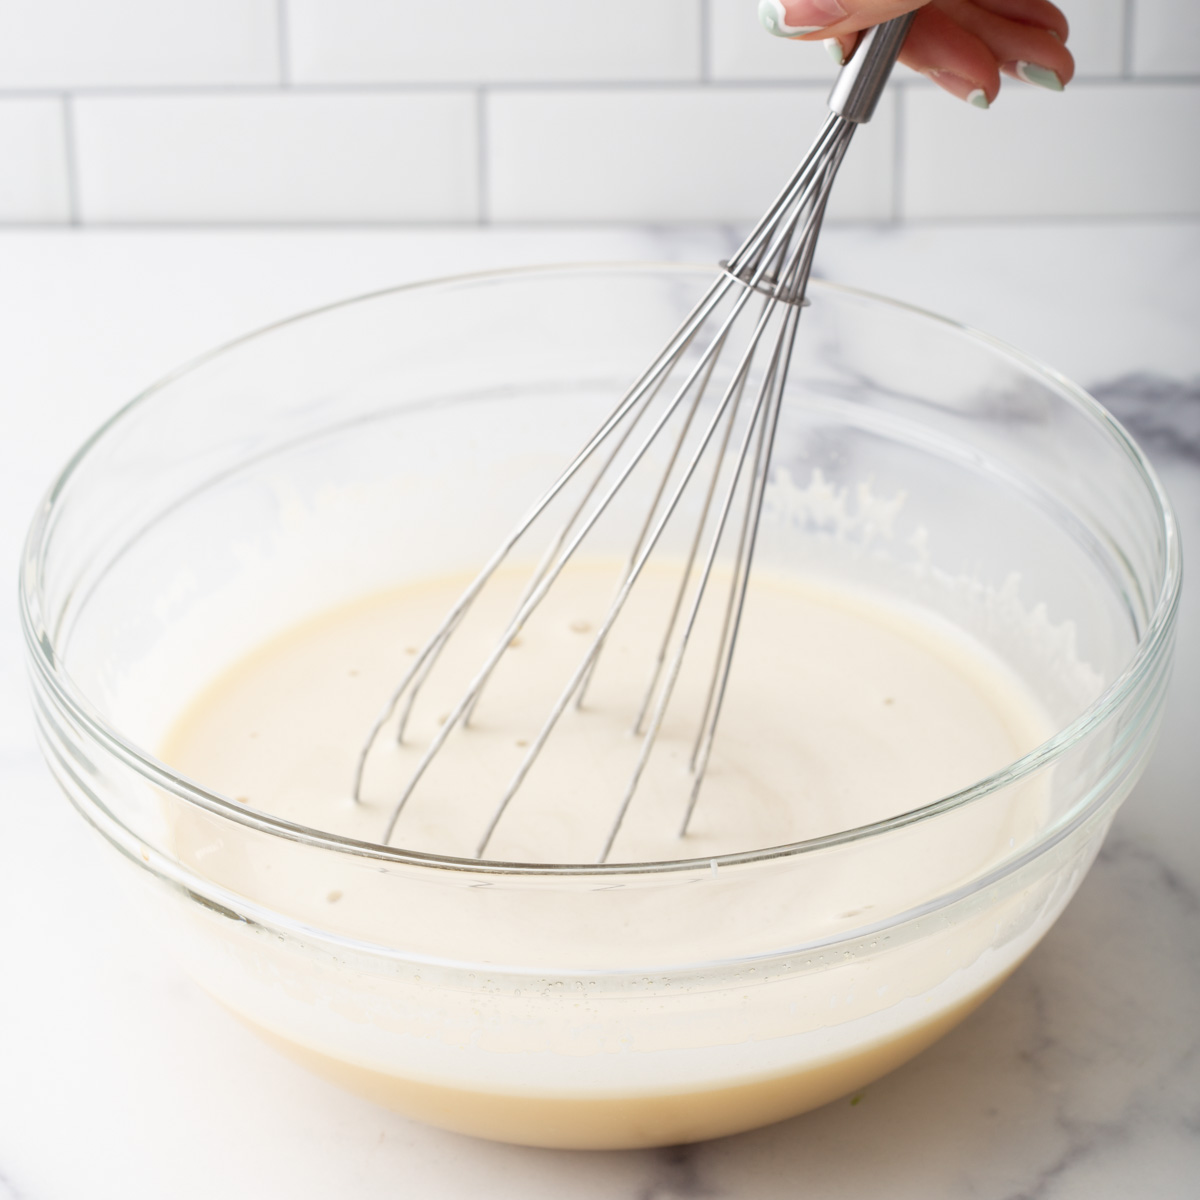
Whisk the remaining wet ingredients + sugar. In a third mixing bowl, whisk together the eggs, sugar, vanilla, room temperature coffee, milk, and coconut milk until thoroughly mixed and the sugar has dissolved.
Combine the mixtures. Pour the wet ingredient mixture into the dry ingredients and whisk until smooth. Then pour in the chocolate-butter mixture and mix until combined.
Bake and cool. Pour the mixture into the prepared baking pan. Bake at 350°F in the center of the oven for 50-55 minutes or until a toothpick inserted comes out clean. Cool the mochi brownies on a wire rack in the pan before unmolding.
Tips For The Best Mochi Brownies
Use a scale! For the best results, use a scale to measure the ingredients instead of relying on your measuring cups and spoons. This allows for more accuracy.
Use Koda Farms Mochiko. This is by far the best quality glutinous rice flour out there on the market. For the best chewy texture, go with Mochiko.
Prepare your pan with parchment paper and butter. This mochi brownie will come out pretty sticky and having a lined and greased cake pan will help you remove the brownie easily.
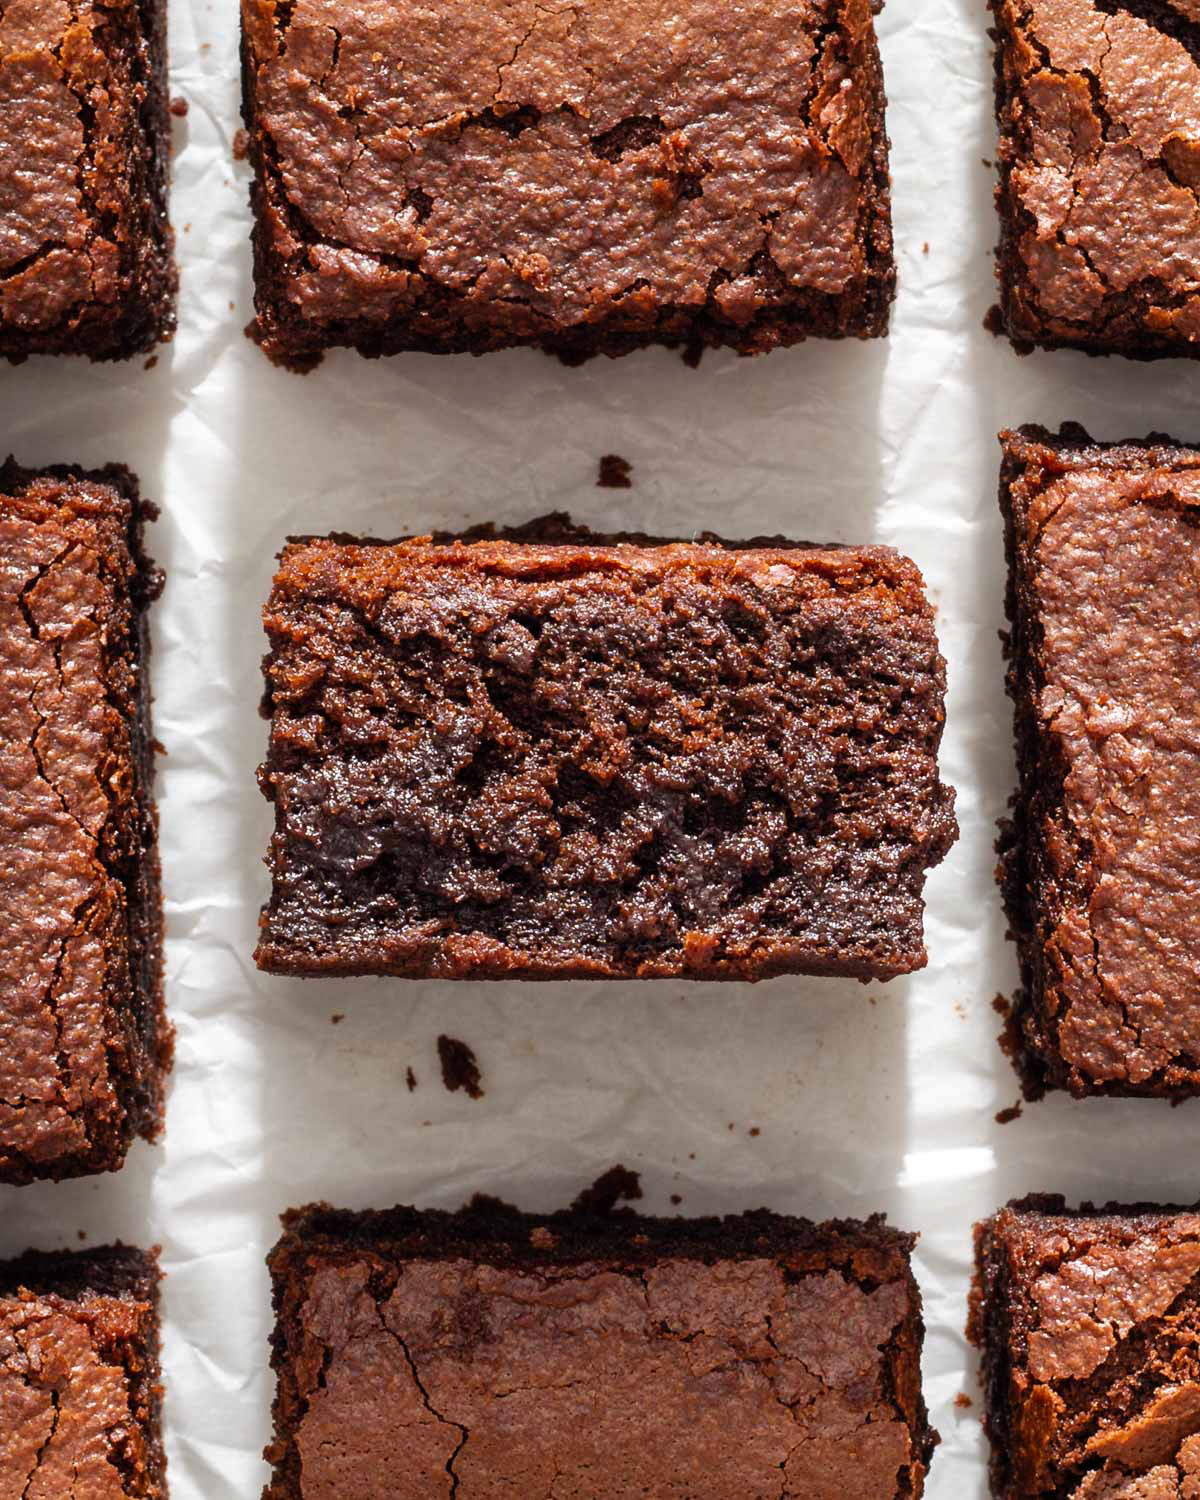
For that shiny crinkle top, whisk the sugar with the wet ingredients. Dissolving the sugar in the wet ingredients dissolves the sugar and that is key for the crinkle top.
Don’t be alarmed if the brownies puff up during baking. This is due to the baking powder in the recipe. The brownies will settle and fall once you pull them out of the oven.
Storage Instructions
You can keep these butter mochi brownies in an airtight container in a cool dry place at room temperature for up to 4 days.
These chocolatey fudge butter mochi brownies will instantly satisfy your chocolate cravings. These mochi brownies are chocolatey, buttery and has the perfect amount of chewiness. BONUS: They are gluten free.
142g(3/4 cup) dark, semi-sweet or milk chocolate chips
85g(6 tablespoon) unsalted butterroom temperature
2large eggsroom temperature
300g(1 1/2 cup) granulated sugar
5g(1 teaspoon) vanilla extract
60g(1/4 cup) coffeeroom temperature
117g(1/2 cup) whole milk room temperature
200g(3/4 cup + 1 tablespoon) Coconut milkfull fat
Instructions
Prepare the oven and the pan. Preheat the oven to 350°F. Line a square 8 by 8-inch baking pan with parchment paper. Generously butter the parchment paper.
Whisk the dry ingredients. In a large mixing bowl, whisk together sweet rice flour, cocoa powder, baking powder and kosher salt.
Melt the butter and chocolate chips. Using a double boiler, melt the chocolate in a heat proof bowl over a pot of boiling water until smooth. Stir often to prevent burning. Alternatively, microwave the butter and chocolate chips in a microwave safe bowl in 30 second increments and stir in between each increment to ensure even melting. Set aside to cool.
Whisk the remaining wet ingredients. In a third mixing bowl, whisk together the eggs, sugar, vanilla, room temperature coffee, milk, and coconut milk until thoroughly mixed and the sugar has dissolved.
Combine the mixtures. Pour the wet ingredient mixture into the dry ingredients and whisk until smooth. Then pour in the chocolate butter mixture and mix until combined.
Bake and cool. Pour the mixture into the prepared baking pan. Bake at 350°F in the center of the oven for 50-55 minutes or until a toothpick inserted comes out clean. Cool the mochi brownies on a wire rack in the pan before unmolding.
Notes
Use a scale! For the best results, use a scale to measure out the ingredients instead of relying on your measuring cups and spoons. This allows for more accuracy.
Use Koda Farms Mochiko. This is by far the best quality glutinous rice flour out there on the market. For the best chewy texture, go with Mochiko.
Prepare your pan with parchment paper and butter. This mochi brownie will come out pretty sticky and having a lined and greased cake pan will help you remove the brownie easily.
For that shiny crinkle top, whisk the sugar with the wet ingredients. Dissolving the sugar in the wet ingredients dissolves the sugar and that is key for the crinkle top.
Don't be alarmed if the brownies puff up during baking. This is due to the baking powder in the recipe. The brownies will settle and fall once you pull it out of the oven.
Storage Instructions: You can keep these butter mochi brownies in an airtight container at room temperature for up to 4 days.
Wow, these were everything I wanted and more from a mochi brownie! I did modify them to make them vegan by using flax “eggs” to replace the eggs (I made them with hot water so the flax would goop up better- 1 Tbsp. ground flax plus 3 Tbsp. water for each egg). I also cut the sugar in half and used dark chocolate chips. They were plenty sweet for me, satisfyingly chewy, and came out perfect at 45 minutes. Thank you for a great recipe.
These came out great! Has a bit of a hard time cutting them so that the crunchy top didn’t fall apart but I am guessing that was due to my impatience of not letting them cool down all the way before cutting. I also threw in a handful of chocolate chips in the batter before making and all was just delicious!
Great recipe! Came out so chewy, everyone loved them. I’d recommend using semisweet or milk chocolate chips because I used a mix of semisweet and dark and it came out with a little more dark chocolate bitterness than expected. Also the coffee didn’t make a huge differnce but I actually think I liked the batch I made without the coffee better, even though I love coffee 😛 Overall awesome recipe!


Wow, these were everything I wanted and more from a mochi brownie! I did modify them to make them vegan by using flax “eggs” to replace the eggs (I made them with hot water so the flax would goop up better- 1 Tbsp. ground flax plus 3 Tbsp. water for each egg). I also cut the sugar in half and used dark chocolate chips. They were plenty sweet for me, satisfyingly chewy, and came out perfect at 45 minutes. Thank you for a great recipe.
yay! I’m so glad you loved them!!
These came out great! Has a bit of a hard time cutting them so that the crunchy top didn’t fall apart but I am guessing that was due to my impatience of not letting them cool down all the way before cutting. I also threw in a handful of chocolate chips in the batter before making and all was just delicious!
Great recipe! Came out so chewy, everyone loved them. I’d recommend using semisweet or milk chocolate chips because I used a mix of semisweet and dark and it came out with a little more dark chocolate bitterness than expected. Also the coffee didn’t make a huge differnce but I actually think I liked the batch I made without the coffee better, even though I love coffee 😛 Overall awesome recipe!
We’re so glad you enjoyed it and we look forward to your friends and family getting a chance to enjoy them too! 🙂