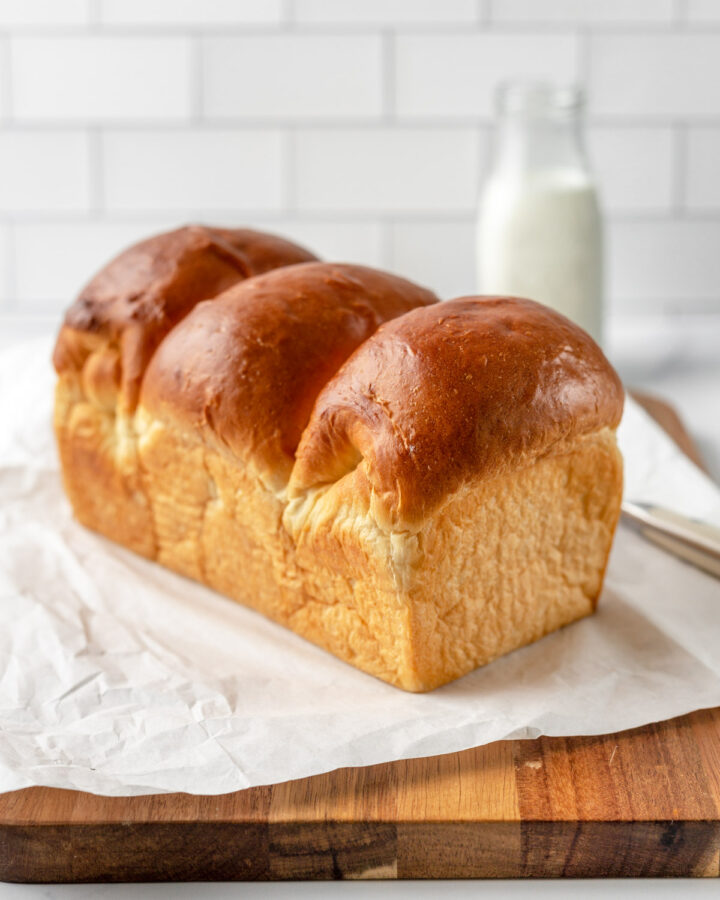
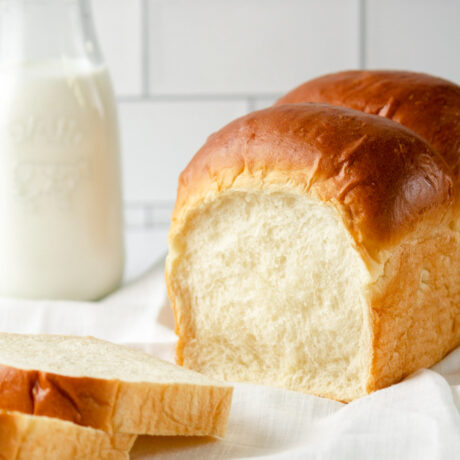
This pillowy soft Japanese Hokkaido milk bread is extremely fluffy, delicious, and feels like you are eating a cloud! Plus, this milk bread is so versatile. Use it for your katsu sandwiches, avocado toast, french toast, Japanese egg sandwiches, etc the options are limitless! If I could, I would curl up with this milk bread
This pillowy soft Japanese Hokkaido milk bread is extremely fluffy, delicious, and feels like you are eating a cloud!Plus, this milk bread is so versatile.Use it for your katsu sandwiches, avocado toast, french toast, Japanese egg sandwiches, etc the options are limitless!
If I could, I would curl up with this milk bread and dream about all the possibilities I can eat with this bread. The smell of freshly baked bread will keep you coming back for more time and time again. Honestly, I made like five loaves in one week once because I just could not get enough.
Hokkaido Milk bread is a Japanese-style white bread that originated from the Hokkaido region of Japan. Commonly, this bread is also referred to as shokupan, which literally translates to “eating bread” and is the general name for milk bread in Japanese.
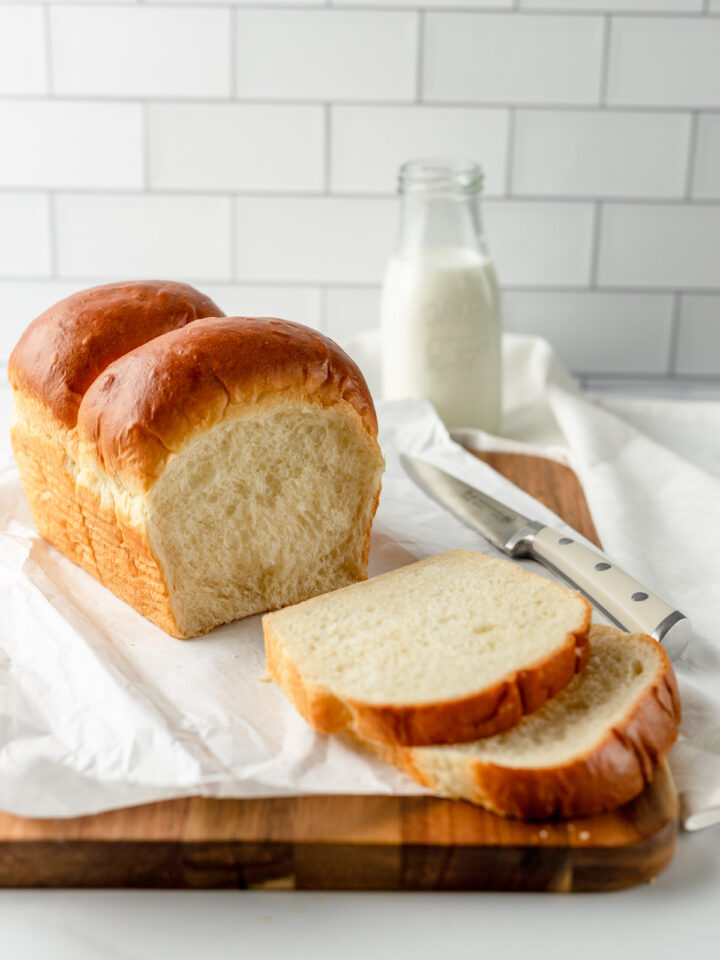
Hokkaido Milk Bread is absolutely the softest, and most versatile white bread ever invented. It has a soft crust and the inside is subtly sweet which gives you a melt-in-your-mouth experience. The special texture of Hokkaido milk bread comes from the high hydration percentage and the addition of a starter.
Ingredients
You can find all of the ingredients for this milk bread recipe at your local grocery store.
Tangzhong method: Christine Ho, a food blogger, popularized the Tangzhong method in the early 2010s. Tangzhong uses 7% of the entire flour contents of the recipe and uses a ratio of 1 part flour to 5 parts liquid. You heat it on the stove until it thickens to the consistency of a thick paste. You can use the starter when it is cooled to the touch. Alternatively, you can also make this the day before and refrigerate overnight. Be sure to bring it down to room temperature before adding it to the dough.
Bread Flour:Bread flour contains more protein than all-purpose. The higher amounts of protein from the gluten make this loaf super soft.
Yeast: This will make the bread rise. I used instant dry yeast which can be added directly into the flour and does not need to be activated with warm liquid.
Sugar: Adds the subtle sweetness to the loaf.
Milk: the key ingredient in this milk bread. I use full-fat milk to make the bread richer and more velvety.
Milk Powder: the milk powder makes the bread softer and adds flavor to the loaf without the added moisture.
Unsalted Butter: adding the butter results in a higher rise, a softer texture, and a longer shelf life.
Egg: tenderizes and lightens up the crumb, makes the bread rise, and binds the ingredients together
Salt: adds the extra flavor!
How to Make This Milk Bread Recipe
Make thetangzhong. First, pour water and flour in a small saucepan and whisk until no lumps are left. Heat over medium heat while whisking constantly until the mixture thickens into a paste. Let cool in a bowl to room temperature. Alternatively, you can refrigerate overnight, and leave at room temperature for 1 hour before using.
Create the Dough. In a stand mixer with the hook attachment, mix the flour, sugar, yeast, milk powder, and salt. Next, add the warmed milk, tangzhong, and egg and knead on low until the ingredients are combined. Lastly, add the softened butter and kneed until combined for around 10 minutes. The dough should be tacky but not sticky.
Proof the Dough. Shape the dough and place it in a lightly greased bowl. Next, proof in a warm place for 1-2 hours until doubled.
Shape the Dough. When the dough has doubled, remove it from the bowl and divide it into three equal portions. Shape into balls cover and rest for 15 minutes. On a lightly floured surface, roll out each ball into an oval. Bring the two sides of the oval towards the middle. Next, turn 90 degrees then roll the dough and seal at the seam.
Second Proof Dough. Place the logs seam side down in an 8.5 x 4.5 loaf pan. Lastly, proof in a warm place for another 30 min.
Bake. Preheat oven to 355 degrees. Brush with egg wash and bake for 30 minutes.
Tips for the Best Milk Bread
Use a scale! Bread-making is a science that needs to be extra precise to produce a consistent loaf.
Yeast: Alternatively, you can use active yeast instead of instant yeast, but make sure to activate the yeast in a warm 110-115°F for about 5 minutes before mixing the ingredients.
Butter: Soften the butter and add to the dough AFTER it has formed a ball to prevent the oil and fat from melting into the gluten formation.
Standard Loaf Pan: I used a standard 8.5 x 4.5 x 2.5-inch bread pan. If you use a bigger loaf pan the height will be smaller. For an even rise, I made sure to equally weigh out each dough.
Proofing: typically, bread with more hydration takes longer to prove. It can take between 1-2 hours. The dough will rise in a warm place around 75-100°F. After shaping, make sure to proof the bread again to get that fluffy cloud-like texture.
Storage Instructions
This recipe lasts longer than other types of bread due to the starter. The bread should last up to one week on the counter in an airtight container. Alternatively, it can last up to a month if stored in the freezer.
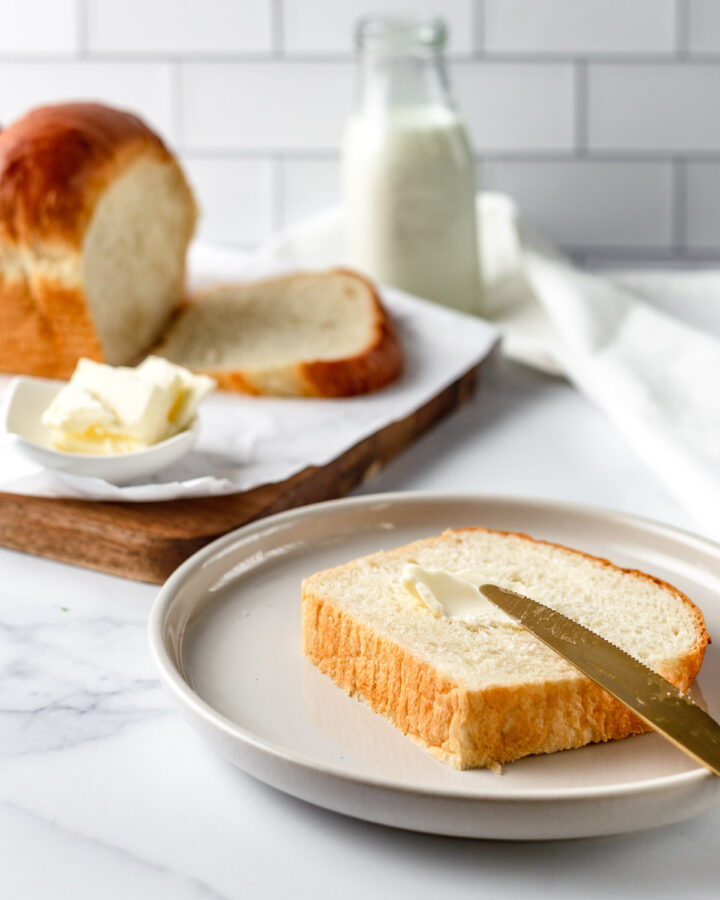
Ways to Eat Milk Bread:
Honestly, I love the simplicity of slathering some butter and sprinkling flaky sea salt onto this milk bread. If you’re looking for more inspiration you can use your fluffy bread here:
Pour water and flour in a small saucepan and whisk until no lumps left. Heat over medium heat while whisking constantly until the mixture thickens into a paste.
Let cool in a bowl to room temperature. Alternatively, you can refrigerate overnight, and leave at room temperature for 1 hour before using.
Create the Dough.
In a stand mixer with the hook attachment, mix the flour, sugar, yeast, milk powder and salt.
Add warmed milk, tangzhong, and egg and knead on low until ingredients are combined for 5 minutes.
Once the dough has formed, add the softened butter. Increase speed and kneed until combined around 5-7 minutes. The dough should be tacky but not sticky.
Proof the Dough.
Shape the dough and place it in a lightly greased bowl. Proof in a warm place for 1-2 hours until doubled.
Shape the Dough.
When the dough has doubled, remove it from the bowl and divide it into three equal portions.
Shape into balls and cover and rest for 15 minutes.
On a lightly floured surface, roll out each ball into an oval. Bring the two sides of the oval towards the middle. Turn 90 degrees then roll dough and seal at the seam.
Second Proof Dough
Place the logs seam side down in an 8.5 x 4.5 loaf pan. Next, proof in a warm place for another 30 min.
Bake
Preheat oven to 355 degrees. Brush with egg wash and bake for 30 minutes.
Notes
Use a scale! Bread-making is a science that needs to be extra precise to produce a consistent loaf.
Yeast: you can use active yeast instead of instant yeast, but make sure to activate the yeast in a warm 110-115°F for about 5 minutes before mixing the ingredients.
Butter: Soften the butter and add to the dough AFTER it has formed a ball to prevent the oil and fat from melting into the gluten formation.
Standard Loaf Pan: I used a standard 8.5 x 4.5 x 2.5-inch bread pan.
Proofing: typically, bread with more hydration takes longer to prove. It can take between 1-2 hours. The dough will rise in a warm place around 75-100°F. After shaping, make sure to proof the bread again to get that fluffy cloud-like texture.


Rate & Review What did you think of this recipe?